Docker on Raspberry Pi

Categories Docker, Raspberry Pi

Running docker on the raspberry pi is a fun process.  Before I begin i should thank the Hypriot blog for making it possible and providing a great set of tutorials and guides. I own 2 Raspberry Pi’s (2 & 3) both running debian 8.0 jessie.
The instructions required to install docker on the RPi are pretty straight forward.


sudo apt-get install -y apt-transport-https 
wget -q https://packagecloud.io/gpg.key -O - | sudo apt-key add - 
echo 'deb https://packagecloud.io/Hypriot/Schatzkiste/debian/ wheezy main' | sudo tee /etc/apt/sources.list.d/hypriot.list 
sudo apt-get update 
sudo apt-get install -y docker-hypriot 
sudo systemctl enable docker 

Do note that you need to be root to run docker commands so i suggest

sudo su

To switch to root. The first thing I recommend doing is installing the Docker-UI container built specifically for the Raspberry Pi.
Do note since the Raspberry Pi is an ARM device the amount of supported containers are limited. If anywhere down the dependency chain of the container we come across a library that doesn’t support the ARM architecture the container cannot build/run. Which I find to be the major pain point in running docker on the Raspberry Pi. To install the Docker-UI rpi container we do the following.

 docker pull hypriot/rpi-dockerui:latest 
#Pulls the latest image of the container. 
docker run -d -p 9000:9000 -v /var/run/docker.sock:/var/run/docker.sock hypriot/rpi-dockerui 
#This means run the container in detached mode (-d)
 expose port (-p) 9000 on host as 9000 in container (host port:container port),
mount (-v) the local docker engine socket onto the container socket.

After which if you go to

http://`raspberry pi IP`:9000/
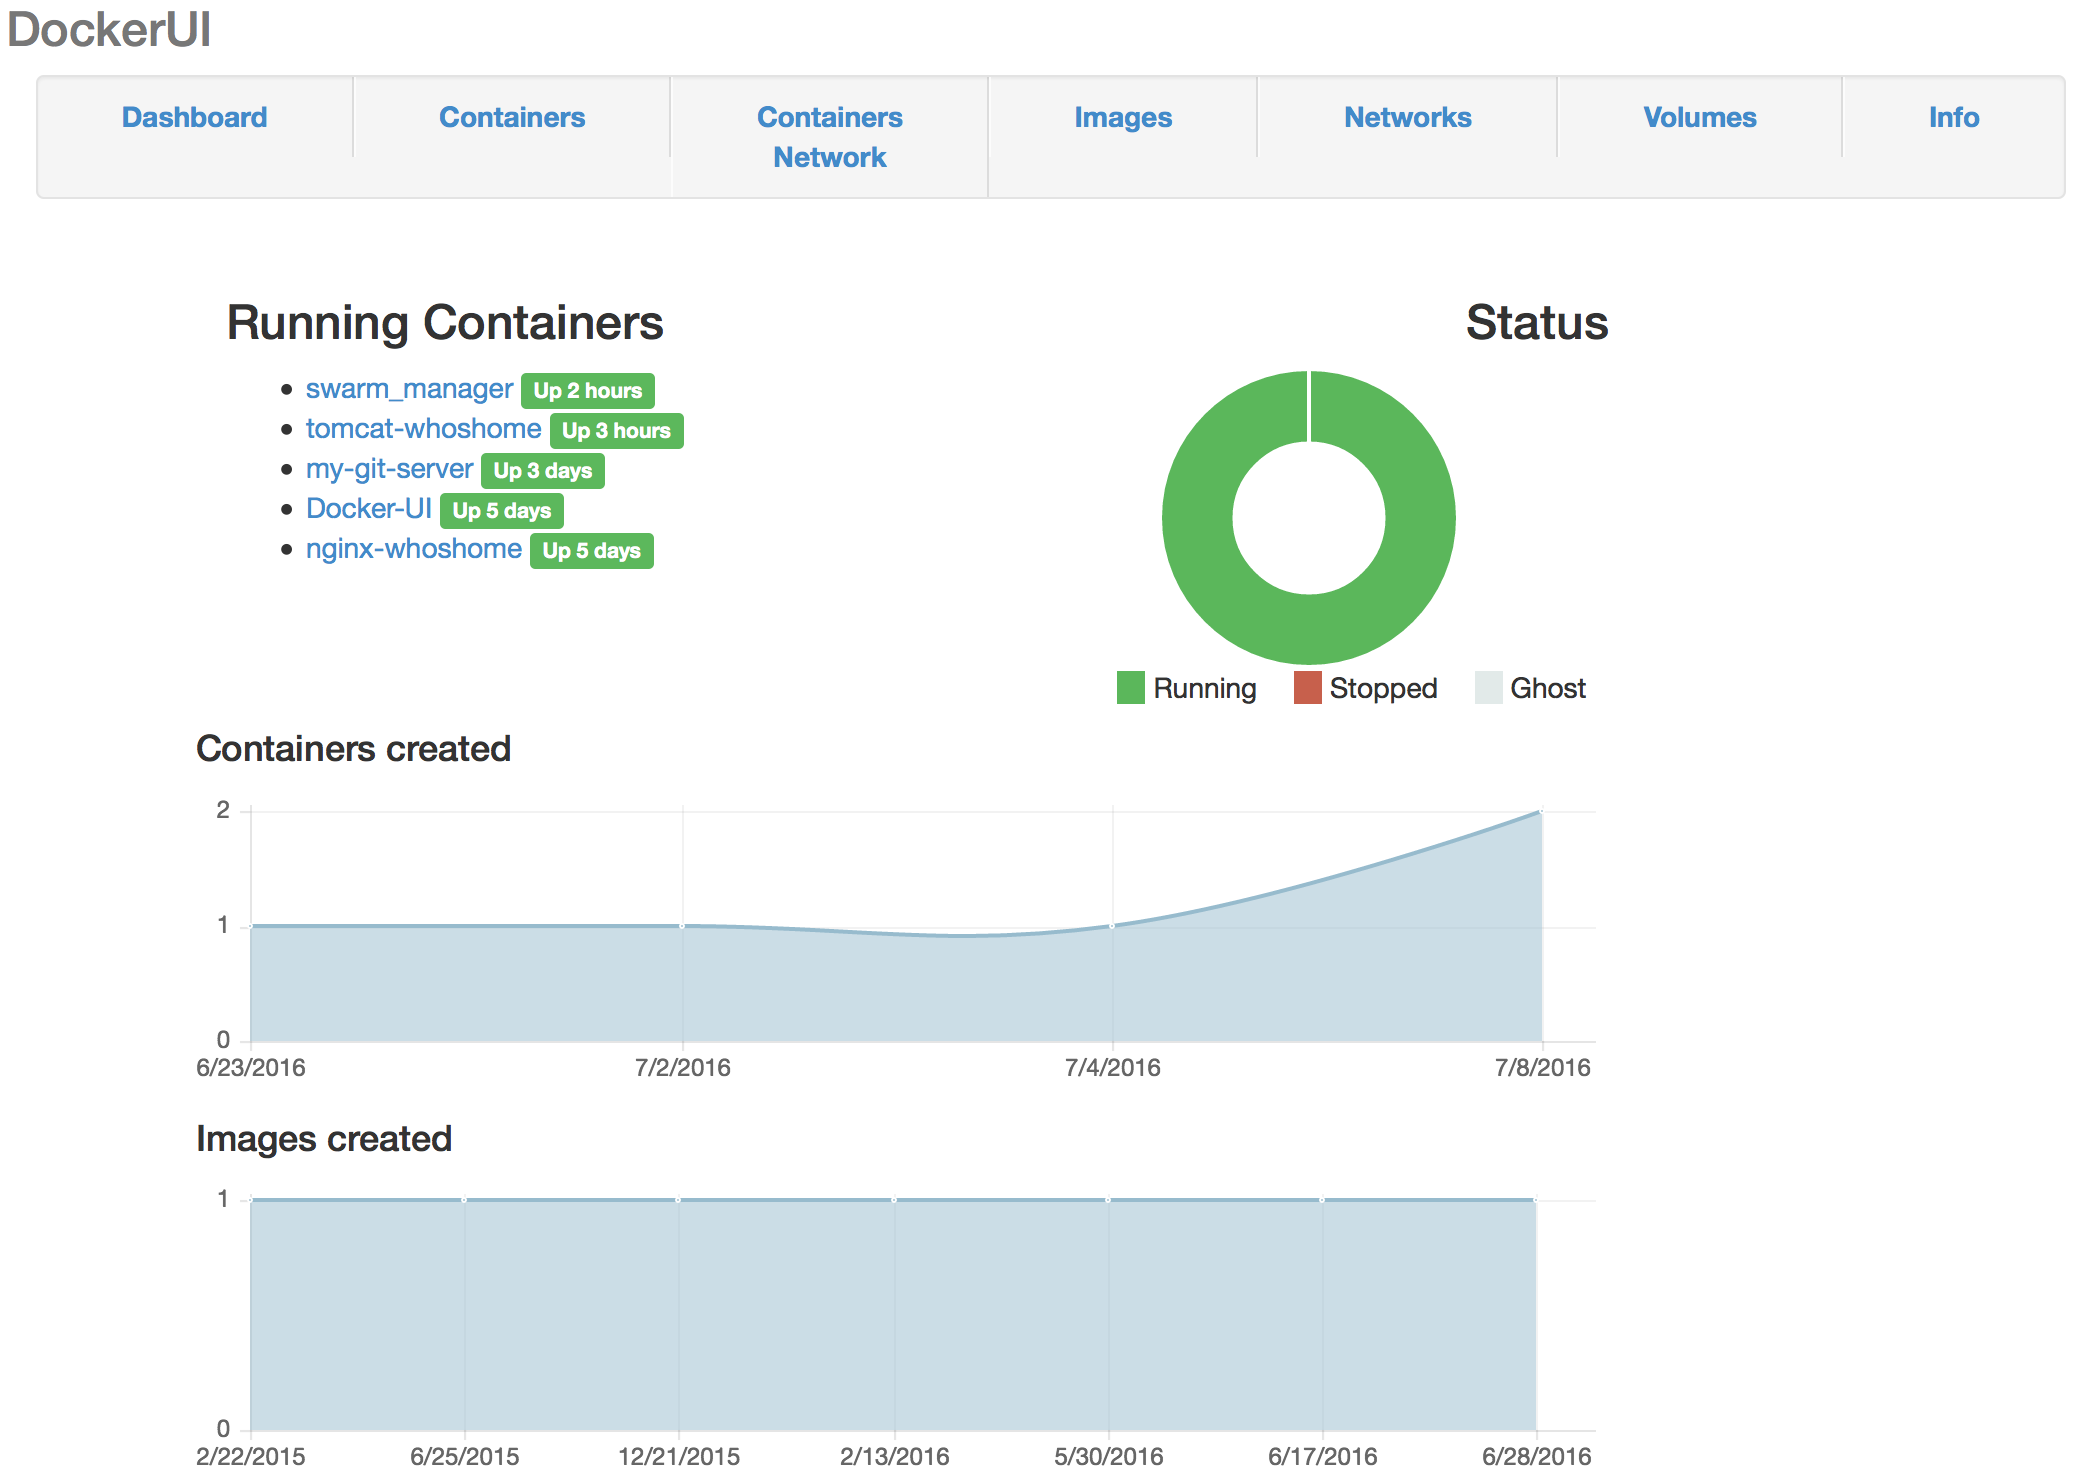
Docker UI on RPI2
Here’s whats running on my Raspberry Pi 2

you should be greeted with the dockerui. I will explain how to set up nginx based reverse proxying in a different post. Here is whats running on my raspberry pi’s.
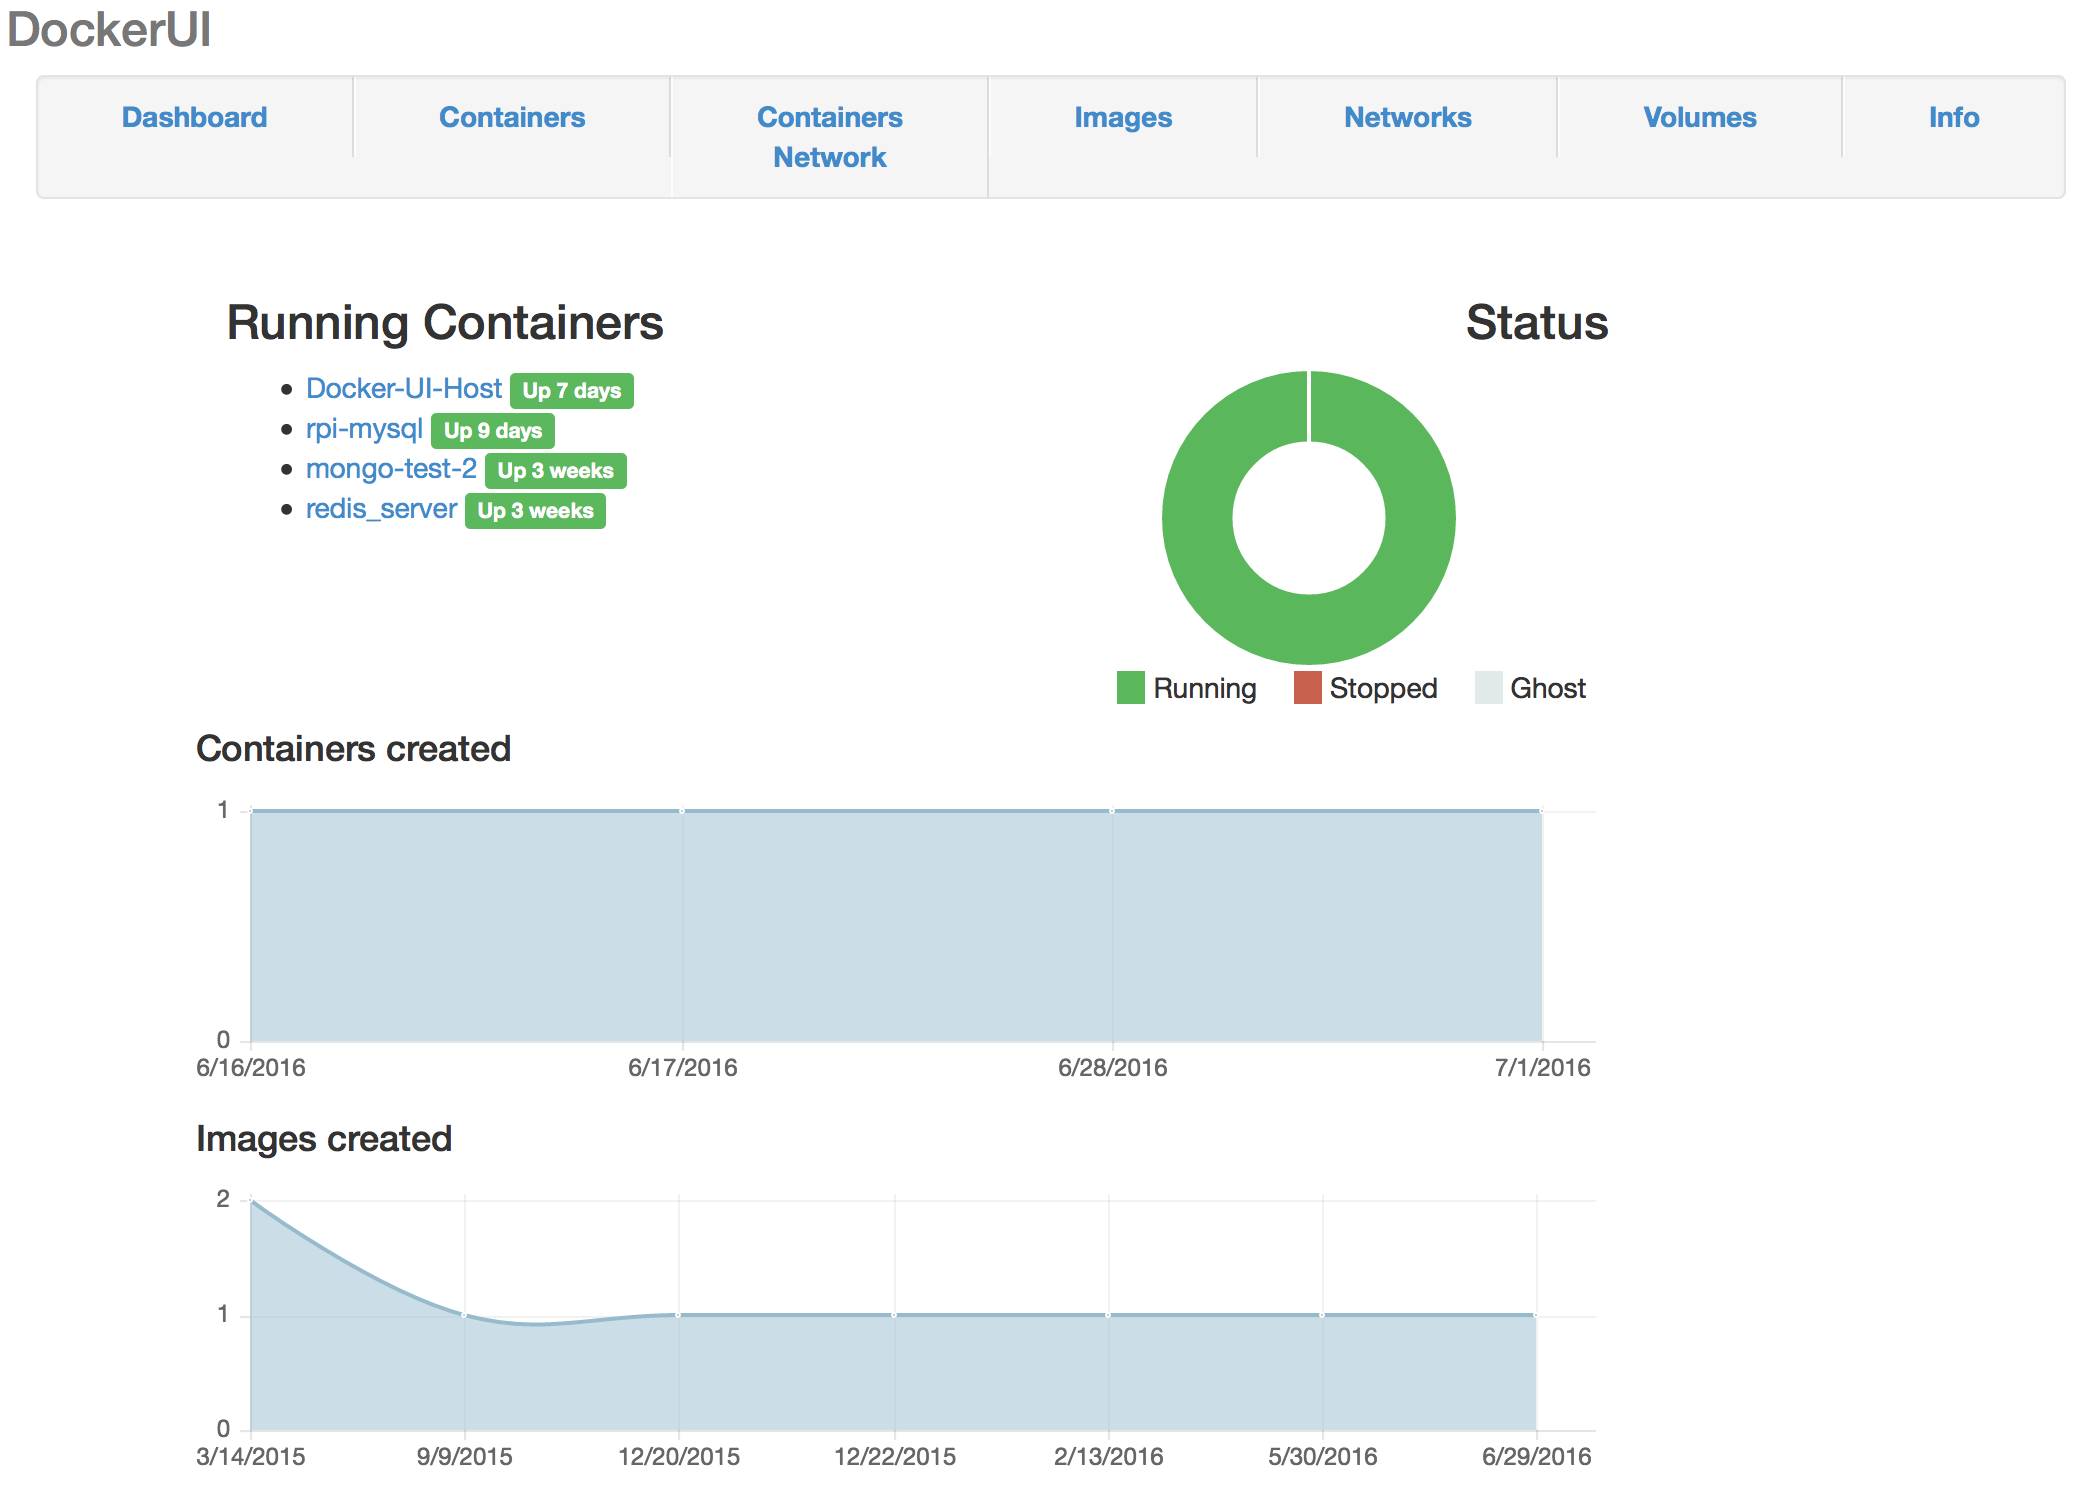
Docker UI RPI3
here’s whats running my Raspberry Pi 3

I am experimenting with separating Front-End and Back-End components onto different hosts. Current my RPI2 holds Front-End components and the RPI3 holds Back-End components.

Welcome / Dev infrastructure review.

Categories AWS, Dev Ops, Docker, Infrastructure, Raspberry Pi

Welcome to my tech blog where I share stories of my experiences and lessons learned during my software development.
Lets get started by me introducing me DEV infrastructure that is where I run all my applications in their beta phase.
The environment consists of

  1. Digital Ocean Droplet:
    My digital ocean droplet is running Ubuntu 14.04 and acts as the provisioning server that binds all the other servers into a OpenVPN subnet. The reason I have chosen to use a digital ocean droplet can be explained easily with this screenshot. All new nodes in my environment must connect to this VPN in order to be accessible from other nodes.
    Screen Shot 2016-07-01 at 1.21.40 PM
  2. EC2 t2.micro Instance:
    There an EC2 instance which is my api gateway used to access api resources within any environment. This server runs NGINX and reverse proxies incoming requests on a service based port/url mapping. This server runs amazon linux which is a custom distribution.
    Screen Shot 2016-07-01 at 1.41.22 PM
  3. Raspberry Pi2/ Raspberry Pi3:
    I am the proud owner or 2 raspberry pis which are the core of my dev infrastructure. They are both running the raspbian 8.0 jessie operating system but are mainly used as docker container hosts to deploy applications on.

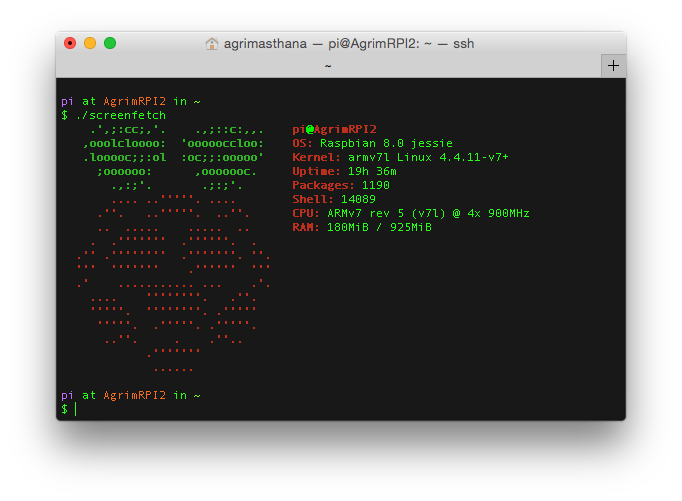
    Raspberry Pi 2 info
    Raspberry Pi 2 info
    Screen Shot 2016-07-01 at 1.39.28 PM
    Raspberry Pi 3 info

    Overall Architecture diagram:
    dev1
    This is what the overall architecture of the system looks like there with there being only one public access point in the entire system. All other components are not publicly accessible except for my openvpn provisioning server. This architecture allows for load balancing between both the raspberry pi’s using my NGINX config.